Table of Contents
Introduction
If you’re dreaming of making a gorgeous heart cake that’s both trendy and timeless, you’ve landed on the ultimate guide. In this cake decorating tutorial, we’ll walk you through how to bake, shape, decorate, and frost a beautiful vintage heart cake from scratch. Whether you’re preparing for Valentine’s Day, an anniversary, or a special occasion, this step-by-step cake tutorial will make the process super easy, even if you’re a complete beginner.
Why is this article worth reading?
Because you’ll learn how to decorate a show-stopping heart shaped cake using professional tips, basic tools like a piping bag, and simple techniques anyone can master — just like you would in a real cake decorating class!
What is a Vintage Heart Cake and Why is it Trending?
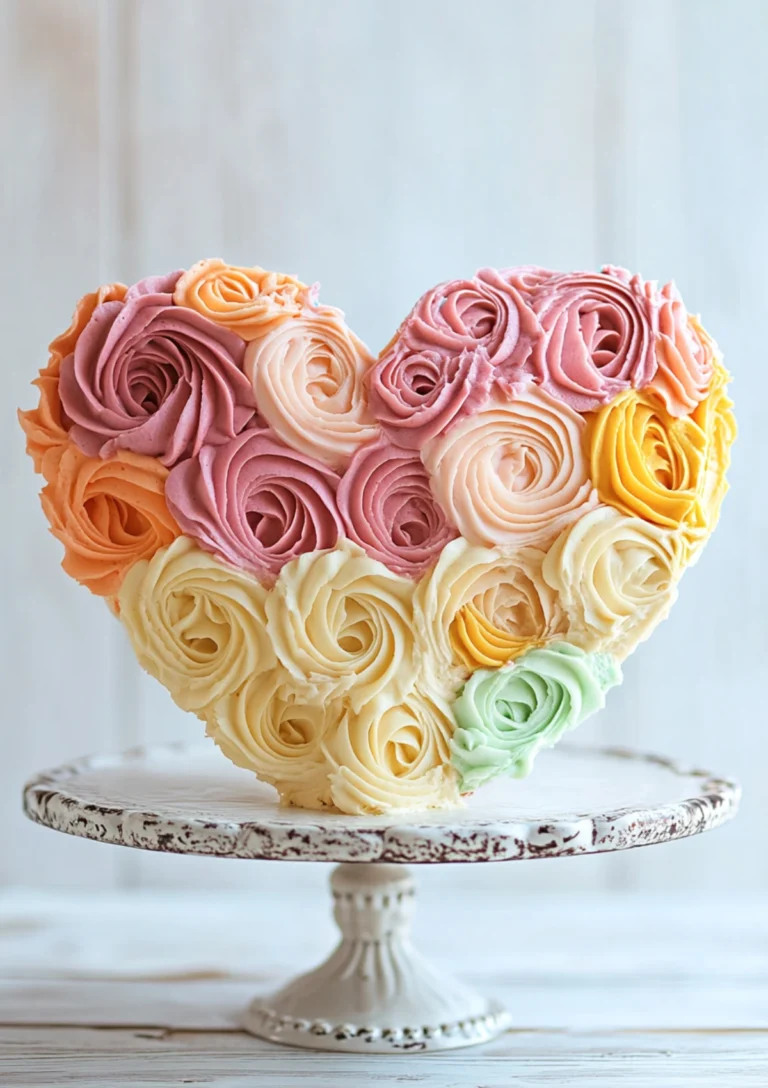
A vintage heart cake is a beautiful heart-shaped cake decorated with ornate buttercream designs like ruffles, pearls, and delicate borders. Inspired by vintage cakes from the 50s and 60s, it’s the perfect way to celebrate love-filled occasions like weddings, Valentine’s Day, and birthdays.
These nostalgic designs are everywhere on social media because they bring back a sense of classic elegance. With pastel color palettes like light pink and mid-toned pink, topped with intricate piping, a vintage heart cake feels both sentimental and stylish — ideal for any special occasion.
How to Choose the Perfect Cake Recipe and Cake Pan
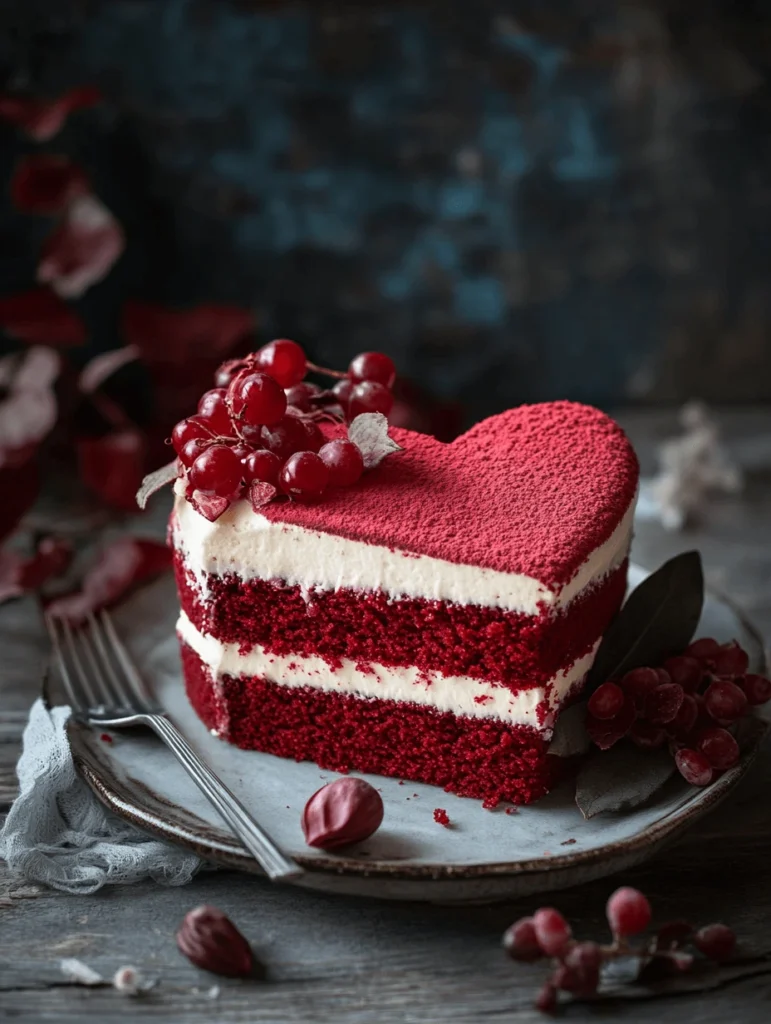
Choosing the right cake recipe is the first step to a beautiful heart cake. Dense, sturdy cakes like butter cakes or pound cakes work best because they hold their shape when cutting and stacking.
You’ll also need either a heart-shaped cake pan or two 8-inch round cake layers plus one square layer to carve your own heart shape. If using traditional pans, always use a serrated knife for clean cuts and adhering the curved pieces neatly.
Pro Tip: Place the cake on the turntable while stacking the cake layers of any size — it will make your cake decorating process much smoother
How to Shape a Perfect Heart Cake Without a Heart-Shaped Pan?
Don’t worry if you don’t have a special pan — it’s super easy to carve your own heart cake!
- Bake two round cake layers and one square layer.
- Cut the round cakes in half with a serrated knife to make two curved tops.
- Attach the halves to adjacent sides of the square cake, creating a heart shape by inward to create sharp edges at the point.
Secure everything with a thin layer of buttercream to “glue” the pieces together. This DIY method gives you flexibility with cake layers and ensures a custom-sized heart shaped cake every time!
Why Crumb Coat the Cake is Essential for Perfect Frosting?
Before you go wild with your designs, you need to crumb coat the cake. This essential step traps all loose crumbs so your final frosted cake looks flawless.
- Apply a thin layer of buttercream using an angled spatula to swipe gently across the top of the cake and sides.
- Chill the cake for about 20 minutes to let the frosting firm.
By taking the time to crumb coat the cake, you’ll prevent crumbs from ruining your final icing layer — a key part of mastering cake basics.
How to Frost the Cake Smoothly for That Professional Look?
Now comes the fun part: frost the cake to perfection!
Use a generous layer of pink buttercream or your chosen shade.
- Start from the top of the cake and work your way down the sides.
- Smooth everything using an icing smoother or a hot spatula.
- Place the cake on the turntable and gently rotate while smoothing to achieve a neat, professional finish.
Let the cake chill for a few minutes to let the frosting set before piping — this ensures a sturdy base for your beautiful vintage designs.
What Buttercream Colors Make the Best Vintage Heart Cake?
A vintage heart cake is known for its romantic, soft hues.
To achieve these looks:
- Tint your buttercream with gel colors for subtle shades like light pink, mid-toned pink, lavender, or mint.
- Stick to 2-3 complementary tones to maintain a charming color palette.
Using soft, nostalgic shades instantly gives your heart cake that signature old-fashioned charm — perfect for Valentine’s Day, anniversaries, or birthdays!
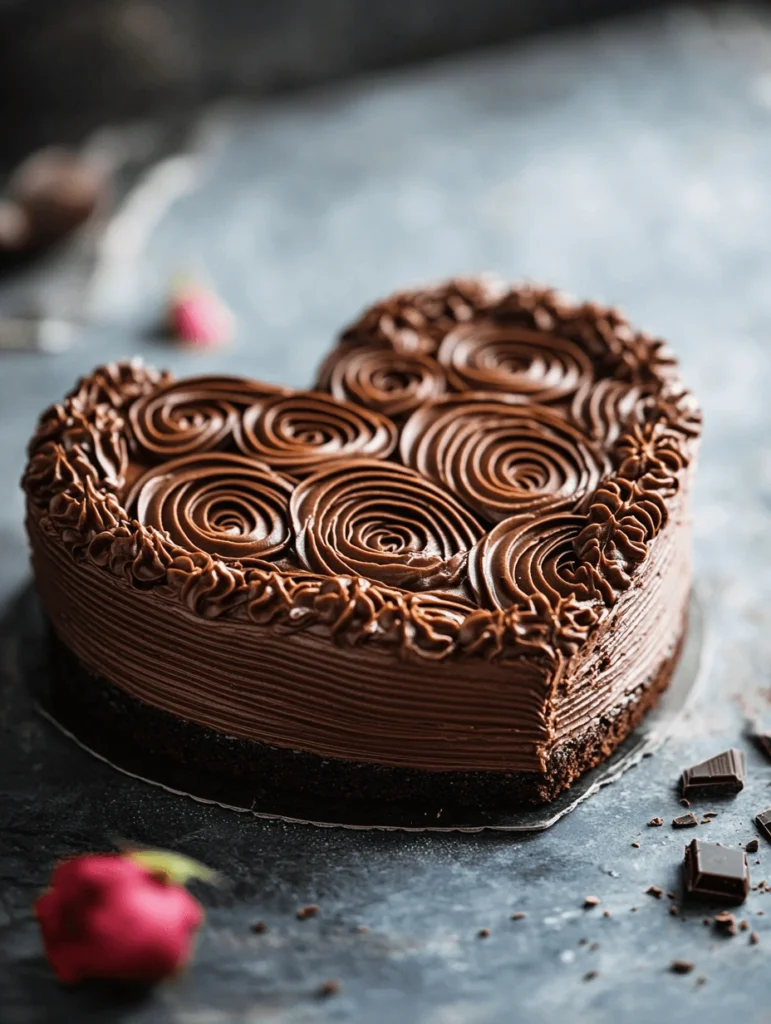
How to Decorate a Heart Cake with a Piping Bag?
Ready to learn how to decorate like a pro? Here’s where your piping bag and tips come in.
- Use a Wilton tip 32 for shells and a tip 4b for rosettes.
- Create a large shell border around the top of the heart and base of the cake.
- Add ruffle details by layering petals along the sides and center.
Using Wilton tools makes it easy to achieve those gorgeous vintage designs. Always start from the outer edges and pipe inward for the cleanest look.
Easy Heart Cake Decorating Ideas for Beginners
If you’re a beginner, don’t worry — there are many ways to decorate that are manageable but still stunning!
- Pipe simple shells around the edge using one basic piping bag tip.
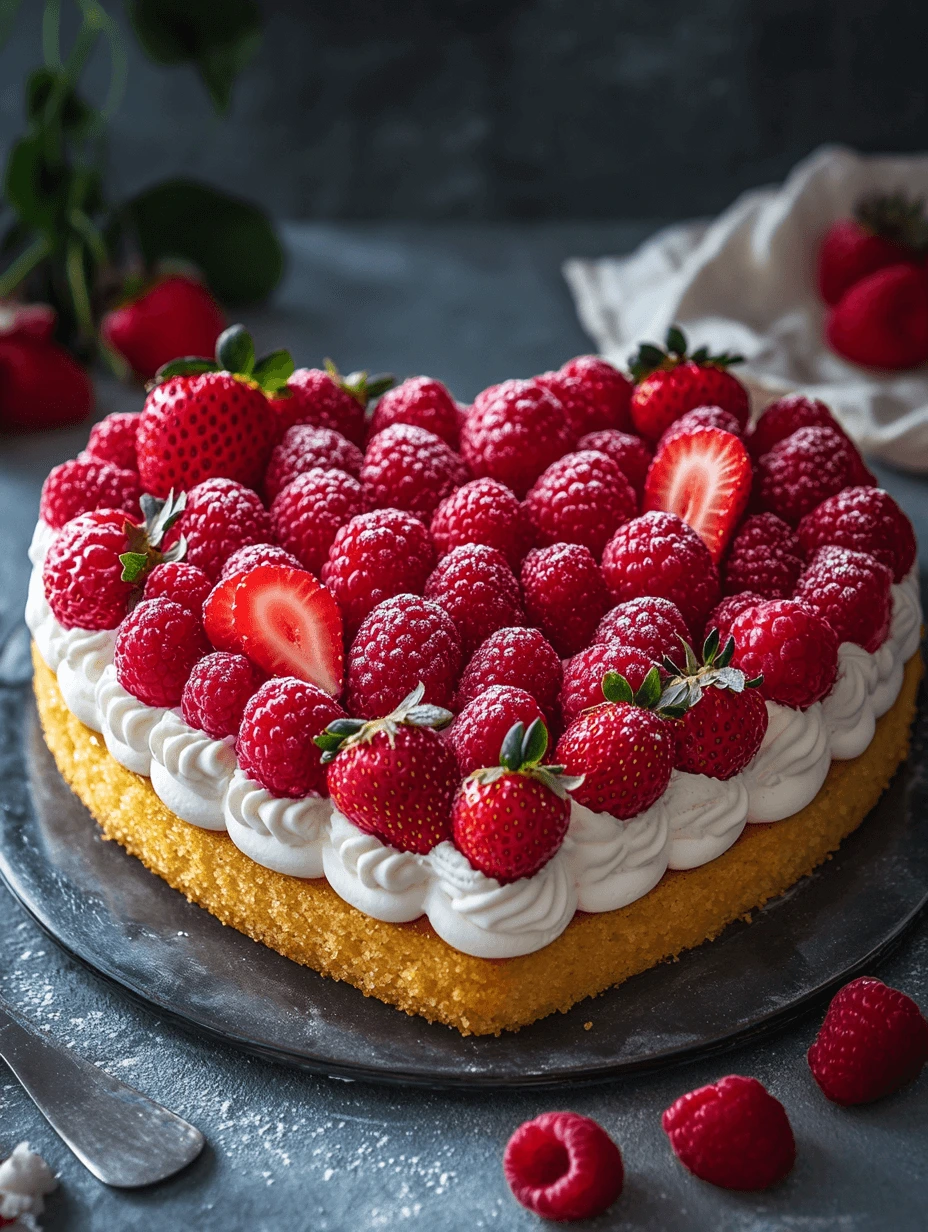
- Sprinkle edible glitter, pearls, or sugar hearts over the top of the cake.
- Pipe a small heart with buttercream in the center as an eye-catching focal point.
Remember, even the simplest designs look beautiful when you cake and smooth the base frosting properly!

Storage & Freezing: How to Keep Your Heart Cake Fresh
After putting so much effort into your beautiful vintage heart cake, you’ll want to make sure it stays fresh!
- Store the frosted cake in an airtight container at room temperature for up to 2 days.
- If you need to freeze it, first chill the cake to let the frosting firm, then wrap tightly in plastic wrap and aluminum foil.
- A frozen heart cake can last up to 2 months — just thaw it overnight in the fridge before serving.
Pro Tip: Always sprinkle decorations after thawing if you want them to look fresh!
Heart Cake Decorating FAQ (Frequently Asked Questions)
Q: Can I use store-bought frosting instead of buttercream?
A: Yes, but homemade buttercream pipes much better and holds intricate designs longer.
Q: How do I fix cracks or gaps in the heart shape?
A: Use a little extra buttercream to smooth over any problem spots before you frost the cake fully.
Q: What if my colors look too bright?
A: Mix in a bit of white frosting to soften the shade. Always tint cautiously, as colors deepen over time.
Q: Can I write a message on the heart cake?
A: Absolutely! Use a fine tip to write “happy birthday,” “Be Mine,” or any festive message right on the top of the cake.
Summary: Important Things to Remember
- Start with a sturdy cake recipe and even cake layers.
- Use round cake and square cakes to create a DIY heart shape if needed.
- Always crumb coat the cake before final frosting.
- Frost the cake smoothly with an icing smoother or hot spatula.
- Choose a color palette of soft, vintage tones.
- Master basic piping with a piping bag and Wilton tips.
- Add sprinkle, candy, or edible pearls for extra flair.
- Store carefully to keep your frosted cake fresh and delicious.
- Practice makes perfect — and every heart cake decorating attempt is a way to celebrate!